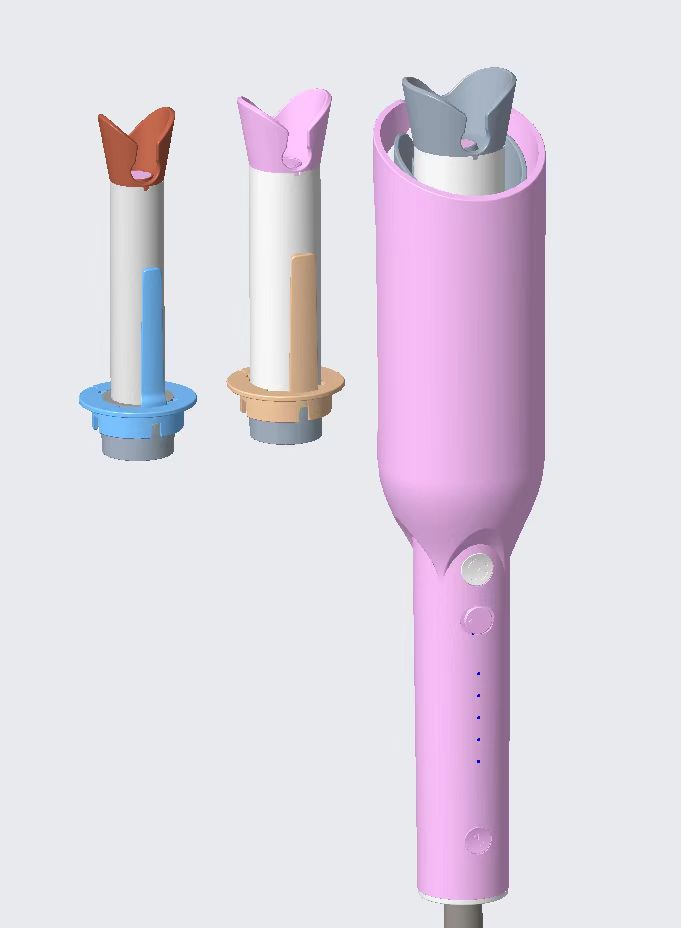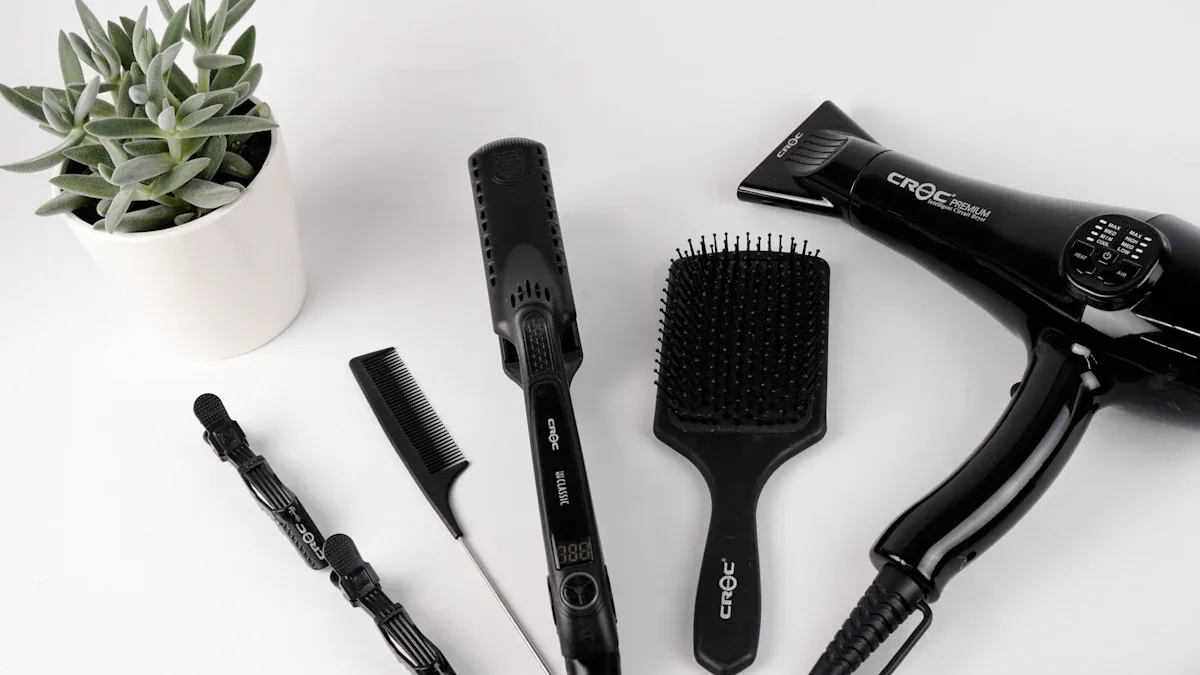
Who doesn’t love the look of effortless beachy waves? They’re timeless, easygoing, and look great on everyone. Whether you’re heading to brunch or a formal event, this hairstyle fits right in. The French wave curling iron makes it simple to create those perfect, tousled waves. You’ll look like you just left the beach!
Key Takeaways
Beach waves work well with all hair types. They are great for both casual and fancy occasions, making them a popular choice.
Getting ready is important. Begin with clean, dry hair and apply a heat spray to protect your hair while curling.
Curl your hair the right way. Change the curl direction and leave the ends straight for a natural, easy style.
Understanding Beachy Waves
What Makes Beachy Waves So Popular
Beachy waves have a charm that’s hard to resist. They give off a carefree, sun-kissed vibe that instantly elevates your look. Whether you’re going for a casual outing or a polished event, this hairstyle fits right in. The best part? It’s not overly styled, so it feels natural and approachable.
Beachy waves are popular because they strike the perfect balance between effortlessness and elegance.
You’ve probably noticed celebrities and influencers rocking this look year-round. That’s because it’s universally flattering and never goes out of style. Plus, it’s easy to dress up or down depending on the occasion.
Why Beachy Waves Work for All Hair Types
No matter your hair type, you can achieve stunning beach waves. Got straight hair? You’ll love how the waves add volume and texture. If your hair is naturally wavy or curly, this style enhances your natural pattern without looking overdone. Even those with fine or thick hair can enjoy this look with the right technique.
Here’s why it works:
Straight hair: Adds movement and dimension.
Wavy hair: Enhances your natural texture.
Curly hair: Softens curls into a relaxed wave.
You just need the right tools and a little practice to make it work for you.
The Versatility of Effortless Beachy Waves
One of the best things about beach waves is their versatility. You can wear them loose and tousled for a casual day out or pin them back for a more formal look. They also pair beautifully with accessories like headbands, clips, or scarves.
Whether your hair is short, medium, or long, beachy waves can be styled to suit your vibe.
This hairstyle transitions seamlessly from day to night. Heading to work? Keep it simple. Got plans later? Add a touch of shine spray, and you’re good to go. It’s the ultimate low-maintenance yet high-impact look.
Step-by-Step Guide to Using a French Wave Curling Iron

Preparing Your Hair for Styling
Before you start creating those dreamy beach waves, it’s important to prep your hair. Proper preparation ensures your waves last longer and look flawless. Here’s what you need to do:
Wash and Dry Your Hair: Start with clean hair. Use a lightweight shampoo and conditioner to avoid weighing your hair down. Let your hair air dry or blow-dry it completely. Beach wave hair works best on dry strands.
Apply a Heat Protectant: Protect your hair from heat damage by applying a heat protectant spray or serum. This step is crucial, especially if you’re using a French wave curling iron.
Add Texture: For natural-looking bends, spritz a texturizing spray or apply a lightweight mousse. This gives your hair grip and helps the waves hold their shape.
Pro Tip: If your hair tends to fall flat, use a volumizing spray at the roots before styling.
Sectioning Your Hair for Even Waves
To achieve perfect beach waves, you’ll need to section your hair. This ensures that every strand gets the attention it deserves.
Divide Your Hair: Use a comb to divide your hair into sections. For thick hair, create smaller sections. If your hair is fine, fewer sections will work.
Clip It Up: Use hair clips to secure the sections you’re not working on. Start with the bottom layers and work your way up.
Keep It Neat: Make sure each section is smooth and tangle-free. This helps the French wave curling iron glide through your hair easily.
Quick Tip: For a more relaxed look, alternate the size of your sections. This creates a mix of signature bends and waves that look effortlessly chic.
Curling Techniques for Perfect Beach Waves
Now comes the fun part—creating those gorgeous waves! The French wave curling iron is designed to make this process simple and effective.
Set the Temperature: Choose the right heat setting based on your hair type. Lower heat works for fine hair, while thicker hair may need a higher setting.
Wrap and Hold: Take a small section of hair and wrap it around the curling iron barrel. Hold it for 5-10 seconds, then release. For beachy waves, leave the ends out for a more undone look.
Alternate Directions: To create natural-looking waves, alternate the direction of each curl. Wrap one section away from your face and the next toward your face.
Loosen the Waves: Once you’ve curled all your sections, gently run your fingers through your hair to break up the curls. This softens them into relaxed waves.
Pro Tip: Don’t overthink it! Beach waves are meant to look effortless, so embrace a little imperfection.
Finishing Touches for Effortless Beachy Waves
You’re almost there! The final steps will take your beach wave hair to the next level.
Add Texture: Use a sea salt spray or texturizing spray to enhance the waves and give them that beachy vibe.
Set the Style: Lightly mist your hair with a flexible-hold hairspray. This keeps your waves in place without making them stiff.
Shine It Up: For a polished finish, apply a small amount of shine serum to the ends of your hair. This adds a healthy glow without weighing down your waves.
Final Tip: Flip your hair upside down and shake it out for extra volume and movement. You’ll love how bouncy and full your waves look!
Tips for Achieving Perfect Beach Waves
Choosing the Right Heat Setting
The heat setting on your French wave curling iron can make or break your beach waves. Choosing the right temperature depends on your hair type. If your hair is fine or damaged, stick to a lower heat setting, around 250-300°F. For thicker or coarser hair, you can go up to 350-400°F.
Using too much heat can damage your hair, leaving it dry and brittle. Always start with a lower setting and increase it only if necessary. Remember, it’s not about how hot the iron gets but how effectively you use it.
Pro Tip: Test the heat on a small section of hair before styling the rest. This helps you avoid unnecessary damage while ensuring the waves hold their shape.
Recommended Products for Texture and Hold
The secret to volume-packed beach waves lies in the products you use. Prepping your hair with the right products can make all the difference.
Heat Protectant: Always apply a heat protectant before styling. It shields your hair from damage and keeps it healthy.
Texturizing Spray: A dry texturizing spray adds grip and enhances the natural look of your waves.
Sea Salt Spray: For that true beachy vibe, spritz a sea salt spray onto your hair after curling. It gives your waves a tousled, lived-in feel.
Lightweight Mousse: If your hair tends to fall flat, apply a lightweight mousse before drying. This adds volume and helps your waves last longer.
Quick Tip: Experiment with products to find what works best for your hair type. For fine hair, a salt spray might be your go-to. For thicker hair, layering a dry shampoo and hairspray can help lock in the style.
Avoiding Common Mistakes
Creating perfect beach waves doesn’t have to be tricky, but there are a few common mistakes you’ll want to avoid:
Skipping Heat Protectant: This is a big no-no. Heat styling without protection can cause long-term damage.
Using Too Much Hair: Wrapping large sections around the curling iron can result in uneven waves. Stick to smaller sections for better control.
Over-Curling: Beach waves should look relaxed, not tight. Leave the ends out of the curling iron for a more natural finish.
Making Waves Too Perfect: The beauty of beach waves lies in their imperfection. Alternate the direction of your curls to keep them looking effortless.
Pro Tip: If you’re new to styling, practice on a day when you’re not in a rush. This gives you time to perfect your technique without stress.
How to Make Your Waves Last Longer
You’ve spent time creating those gorgeous beach waves, so naturally, you want them to last. Here’s how to keep your beach wave hair looking fresh all day (or night):
Start with Clean, Dry Hair: Waves hold better on clean hair. Use a lightweight shampoo and conditioner to avoid weighing your hair down.
Use the Right Products: A combination of texturizing spray and flexible-hold hairspray can work wonders. These products add grip and keep your waves intact without making them stiff.
Avoid Over-Touching: Constantly running your fingers through your hair can loosen the waves. Let them be for a longer-lasting style.
Sleep Smart: If you want your waves to last overnight, loosely braid your hair or use a silk scarf to protect it while you sleep.
Final Tip: Keep your scalp and hair moisturized to prevent dryness. Healthy hair holds styles better and looks shinier, too!
Styling Ideas for Beachy Waves

Beach Waves for Short, Medium, and Long Hair
Beach waves work well for all hair lengths. Whether your hair is short, medium, or long, this style is easy to achieve.
Short Hair: Adds texture and makes short hair look thicker. Use a small curling iron for tighter waves that suit your cut.
Medium Hair: Perfect for beach waves. This length looks youthful with soft, tousled waves.
Long Hair: Long hair looks elegant with loose, flowing waves. Curl larger sections for soft, cascading waves.
Evidence Type | Description |
|---|---|
Popularity | Women with medium-length hair love beach waves for their relaxed style. |
Styling Technique | Use texturizing or salt sprays for a natural, wavy look. |
Trend Increase | 22% rise in requests for textured hairstyles shows growing interest. |
Styling Beach Waves for Formal Occasions
Beach waves aren’t just for casual days—they can be formal too. Add a sleek side part or pin one side back with a fancy clip. A little shine serum makes your waves look polished. Katie Holmes’s beach waves are a great example of how this style can look classy and trendy, especially in spring and summer when effortless styles are popular.
Adding Accessories to Enhance the Look
Accessories can make your beach waves even better. From headbands to sparkly jewelry, there are so many choices. Inspired by Taylor Swift’s Eras Tour, fans pair waves with cowboy boots and glittery touches. You can also try:
Simple bags and sunglasses for a modern look.
Bold hats for a standout style.
Artistic jewelry for an elegant touch.
These extras make your waves unique and show off your personality.
Day-to-Night Styling with Beachy Waves
Beach waves are great for day and night looks. During the day, keep them loose and natural. For evening, add volume at the roots and use flexible hairspray. Try a sparkly clip or bold lipstick to dress up your waves. This hairstyle is super versatile, so have fun experimenting with different looks!
Creating beachy waves with a French wave curling iron is easier than you think. This tool gives you the freedom to style your hair effortlessly, whether you’re aiming for casual or chic.
Don’t be afraid to experiment! Play around with different techniques and products to find your signature look.
When you rock those waves, you’ll feel confident, radiant, and ready to take on the day. 🌊
FAQ
How long does it take to create beach waves with a French wave curling iron?
It usually takes 15-30 minutes, depending on your hair length and thickness. With practice, you’ll get faster!
Tip: Prep your hair beforehand to save time during styling.
Can I use a French wave curling iron on short hair?
Absolutely! A French wave curling iron works great on short hair. Use a smaller barrel for tighter waves that complement your cut.
Pro Tip: Alternate curl directions for a natural, tousled look.
How often can I style my hair with heat tools?
Limit heat styling to 2-3 times a week to avoid damage. Always use a heat protectant to keep your hair healthy and shiny.
Note: Give your hair a break by air-drying or trying heatless styles occasionally.
See Also
Achieving Superior Quality Through PCBA Manufacturing Mastery
Guidelines for PCBA Assembly and Error Prevention
Understanding Surface Mount Technology in Simple Terms
Discover AI’s Role in Advancing PCBA for Electronics
Choosing Reliable Electronics Manufacturing Services Made Easy


