
Being precise is very important in printed circuit board assembly. Every small detail counts, like the size of holes and where parts go. For example, exact measurements ensure parts fit well and work correctly. Special soldering methods enhance the performance and longevity of the boards. These methods help parts connect, prevent signal problems, and manage heat more effectively.
New circuit board designs are tricky. Smaller sizes and packed layouts require careful assembly to avoid mistakes. Good soldering maintains strong signals, especially for fast systems. It also makes boards more durable for cars and airplanes.
Key Takeaways
Use soldering irons with temperature control to manage heat well. This stops weak joints and keeps small parts safe.
Pick the right solder and flux for your work. Lead-free solder is better for the planet, and good flux makes strong bonds.
Keep your workspace clean and neat. A tidy space helps avoid errors and makes soldering better.
Check solder joints often to ensure they are good. Use tools like magnifiers to find problems early and keep them reliable.
Try advanced soldering methods like reflow and laser soldering. These ways make connections stronger and more accurate.
Essential Tools and Materials for PCB Soldering
Temperature-controlled soldering irons and stations
A temperature-controlled soldering iron is very useful for pcb work. You can change the heat to fit your project needs. Steady heat helps the solder melt well, making strong connections. Quick heating and cooling also make the process faster.
These irons keep delicate parts safe from too much heat. For instance, adjustable heat settings let you do many tasks without harm. Digital screens show exact temperatures, giving you more control. Stable heat during long use stops sudden temperature changes that could damage your pcb.
Why use temperature-controlled soldering irons:
Right heat prevents weak or bad solder joints.
Heats up fast, saving time and improving work speed.
Keeps parts safe from overheating damage.
Picking the right solder and flux for accuracy
Choosing the right solder and flux is very important. Lead-free solder is common because it’s better for the environment. But it needs higher heat to melt. Think about the solder wire size too. Thin wires are good for tiny parts, while thick ones work for bigger areas.
Flux helps clean metal surfaces so solder sticks well. Rosin-based flux is often used for electronics, but water-based flux is easier to clean. Always match your flux and solder to your project needs.
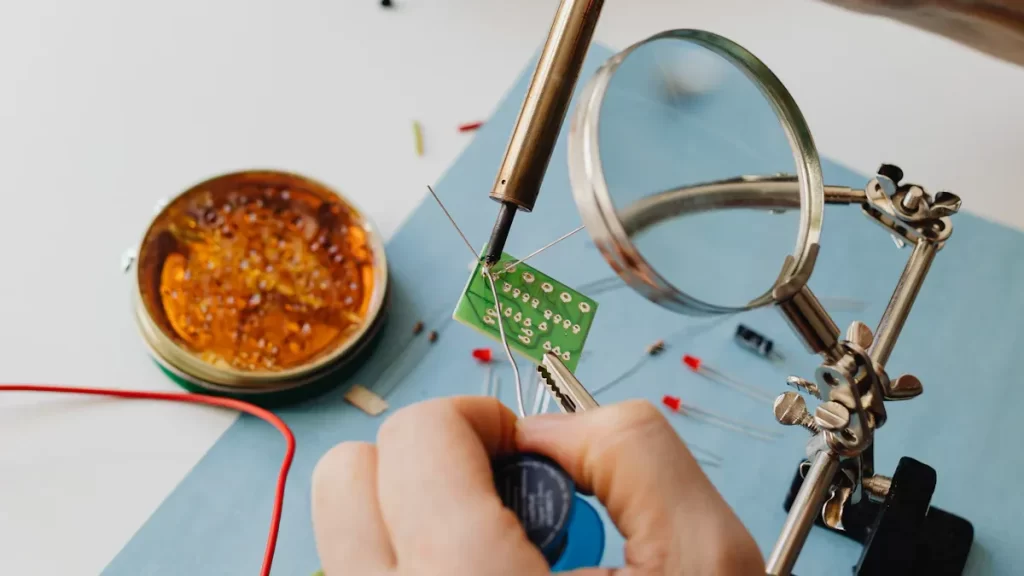
Safety gear and workspace setup basics
Safety is key when soldering pcbs. Wear safety glasses to shield your eyes from hot solder splashes. Use a fume extractor to clear harmful smoke from your area. A heat-safe mat protects your table from burns or damage.
Keep your workspace tidy with tools and materials close by. A clean area helps you avoid mistakes. Good lighting makes it easier to see small parts, improving your soldering accuracy.
Preparatory Steps for Advanced PCB Soldering
Checking PCBs for problems and dirt
Before soldering, check the pcb for problems or dirt. Careful checking makes sure the board works well and avoids mistakes. Look for scratches, broken lines, or missing parts. Use a magnifying glass to find tiny issues.
Good checking is important for making reliable pcbs. It stops failures, makes customers happy, and meets rules. The table below shows why checking matters:
Why Check for Quality | What It Helps With |
|---|---|
Finding and fixing problems | Stops products from failing |
Making products work better | Builds customer trust and happiness |
Fewer returns and repairs | Saves money on fixing broken products |
Following rules and standards | Lets products be sold legally |
Also, do tests like the Heat Test to check strength in hot or cold. The Dirt Test helps stop rust and electric problems, especially for important uses.
Getting parts ready for soldering
Getting parts ready is key for good soldering. First, check all parts to match the list of needed items. Make sure they work by testing them.
Be careful with static electricity. Wear a special wrist strap or use a mat to stop static damage. Clean parts to remove dirt or rust that could cause problems.
Pick the right soldering way based on the board and parts. For example, reflow soldering is good for small parts, while selective soldering works for bigger ones.
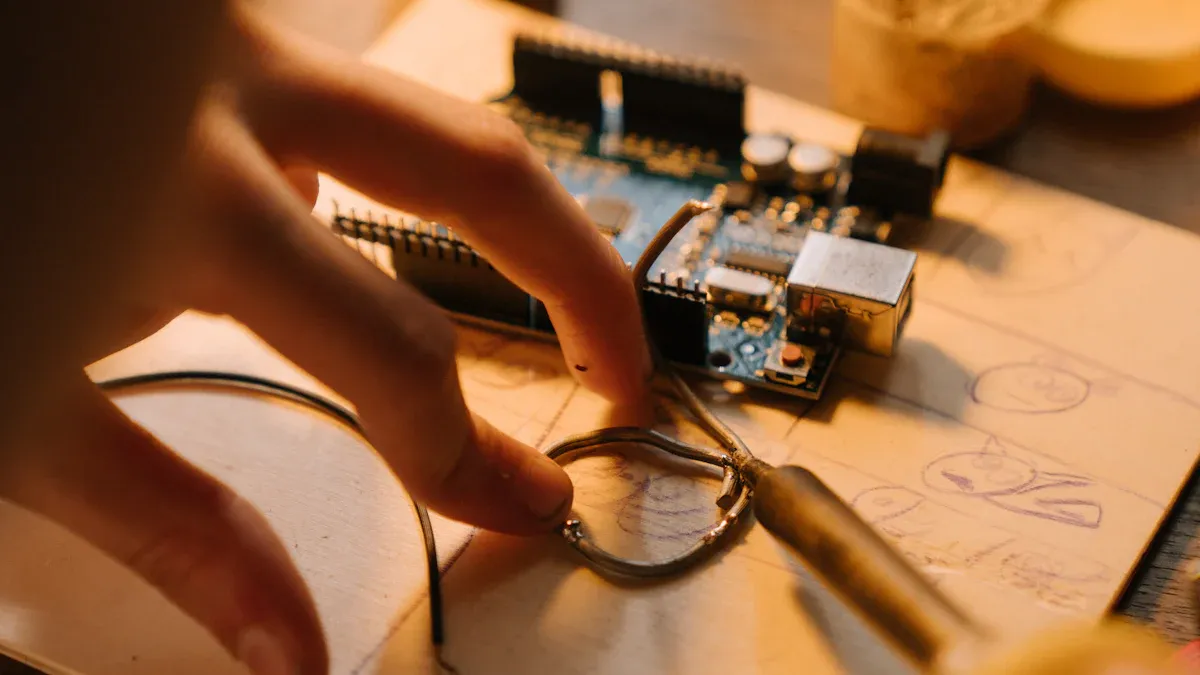
Keeping your workspace neat and ready
A tidy workspace helps you solder better and avoid mistakes. Keep tools and parts in order to stop accidents. Use labeled boxes to store small items so they don’t get lost.
A clean area stops dirt from ruining the board. Dust can cause bad connections or short circuits. Keep the room at a steady temperature and humidity to protect parts.
Bright light is very helpful for careful soldering. Use a strong, adjustable lamp to light up your work. This helps you see small details and do better work.
By doing these steps, you can solder smoothly and make great pcbs.
Advanced PCB Soldering Techniques
Reflow soldering: Process and benefits
Reflow soldering is a common way to join parts on PCBs. It works well for small and detailed parts on the board. First, spread solder paste evenly on the PCB pads. Then, place the parts carefully in the right spots. After that, heat the board in a reflow oven to melt the solder. Finally, let the board cool slowly to avoid damage from heat.
This method has many advantages. It makes strong and steady connections, even for tiny parts. Reflow soldering also allows parts on both sides of the board. The controlled heat keeps delicate parts safe from harm. Research shows it improves quality by using clear rules to check PCB strength.
Laser soldering for high-precision connections
Laser soldering uses focused light beams to heat small areas. It is great for detailed work, like soldering tiny parts or crowded boards. The laser’s accuracy heats only the needed spots without harming nearby parts.
One big benefit of laser soldering is its use with robots. Robots make the process faster and reduce mistakes. This method is also very quick and exact, making it good for different types of soldering jobs. It works well for both surface parts and parts with holes.
Vapor phase soldering for thermal stability
Vapor phase soldering uses heated vapor to warm the PCB evenly. This makes sure all parts, big or small, get the same heat. It is especially helpful for parts that can be damaged by too much heat.
This method prevents overheating and keeps parts safe. It is great for complex boards because it avoids weak solder joints. Vapor phase soldering creates strong and lasting connections. By keeping steady heat, it improves the PCB’s quality and durability.
Selective soldering for specific tasks
Selective soldering is helpful for PCBs with different types of parts. It lets you solder certain spots without harming nearby components. This is great for boards with both through-hole and surface-mounted parts. By focusing only on needed areas, sensitive parts stay safe from extra heat.
The process uses a nozzle to place melted solder exactly where needed. Machines can be programmed to follow a set path for accuracy. This reduces problems like solder bridges or weak joints, which often happen with hand soldering. Selective soldering works well for crowded PCBs with little space.
Tip: Always check solder joints after selective soldering. This ensures they are strong and problem-free.
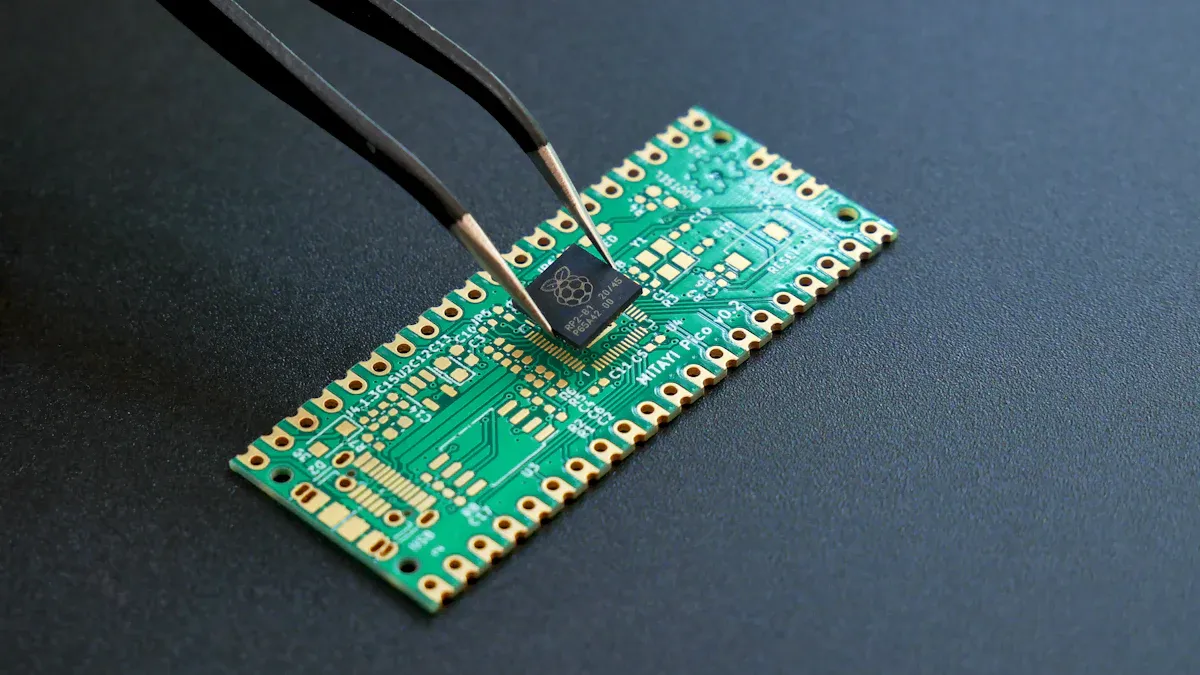
Soldering tiny parts with care
Soldering small parts needs great care because they are tiny and close together. These parts are common in modern PCBs, where making things smaller is important. To make good connections, focus on three key steps:
Placing parts correctly: Make sure each part is lined up right. This stops mistakes like bridges or gaps. Modern machines can place parts with very high accuracy.
Using solder paste carefully: Apply the right amount of paste in the right spots. Too much or too little can cause bad connections.
Heating properly: Set the heat just right to melt solder without harming parts.
Step | Why It’s Important |
|---|---|
Accurate Placement | Prevents mistakes like misalignment or short circuits. |
Regular Checks | Helps avoid errors, especially with tiny parts. |
By learning these steps, you can make strong and reliable PCBs. Soldering small parts takes skill, but with good tools and methods, you can do it well.
Troubleshooting Common PCB Soldering Issues
Spotting and fixing cold solder joints
Cold solder joints happen when solder doesn’t stick well. This is often due to not enough heat during soldering. You can spot these by looking for dull or bumpy solder spots. Tools like AOI systems or X-ray machines can find these problems early.
To fix them, reheat the joint with the right heat level. Make sure your soldering iron is hot enough before using it. Don’t overheat, as it might harm parts. Check your soldering tools often to keep them working properly.
Tip: Use a temperature-controlled soldering station to avoid cold solder joints.
Avoiding solder bridges in tight designs
Solder bridges happen when solder connects two nearby pads by mistake. This can cause short circuits, especially in crowded PCB designs. During design, leave enough space between parts to prevent this. For example, HDI boards need very small clearances of 15-25 μm.
A solder mask between pads helps stop bridges. Clean the PCB well before adding solder paste to remove dirt. Adjust heat and time settings to spread heat evenly. Keep soldering tools in good shape to lower the chance of bridges.
Component Type | Suggested Clearance (μm) | Suggested Clearance (mils) |
|---|---|---|
Standard Through-Hole | 50-100 | 2-4 |
Surface Mount Technology (SMT) | 25-75 | 1-3 |
High-Density Interconnect (HDI) | 15-25 | 0.6-1 |
Protecting parts from heat damage
Too much heat can harm parts or PCB traces. To stop this, use the right heat control methods. Match the heat expansion rates of parts and the PCB to avoid stress.
Look for burnt parts or broken traces during checks. Use a multimeter to test for proper connections and voltage. An oscilloscope can check signals and find timing problems. Fix damaged traces quickly to make the board work again.
Note: Change soldering settings like airflow and time to spread heat evenly and protect delicate parts.
Best Practices for Long-Lasting Solder Joints
Taking care of soldering tools for better results
Keeping your soldering tools clean helps them work well longer. Wipe the soldering iron tip often to remove dirt and burnt material. A clean tip heats better, making strong solder joints easier. Use a wet sponge or brass cleaner to keep it shiny.
Check your soldering station’s temperature settings regularly to ensure accuracy. Wrong temperatures can weaken connections or harm parts. Replace old tips and check the heater for damage. Well-maintained tools make soldering easier and reduce mistakes.
Tip: Keep soldering tools in a dry, clean place to avoid rust.
Making strong and dependable solder joints
Good solder joints need the right methods and careful work. Use just enough solder to avoid weak spots or bridges. Make sure the solder spreads evenly for a strong hold.
Follow rules like IPC-A-610 for high-quality soldering. Check your work with magnifiers or AOI tools to find problems like cracks or gaps. These tools help you fix issues early.
Aspect | What It Covers |
|---|---|
Explains soldering steps, training, and allowed tools. | |
Inspection & Testing | Shows how to check and measure assembly quality. |
Quality Control Statistics | Includes sampling, limits, and defect types. |
Tests like HALT and HASS check how strong your solder joints are. HALT finds design problems early, while HASS ensures products meet quality needs.
Checking and testing solder joints often
Regular checks keep solder joints strong and working well. Look closely at joints with a magnifier to spot surface problems. Use ICT to test electrical connections and find faults.
Advanced tools like X-rays show hidden issues like cracks or air pockets. ESS tests the PCB by exposing it to heat and shaking to check its strength.
Inspection Method | Class 3 Needs | |
|---|---|---|
Visual Inspection | 3X to 10X magnification | 10X to 30X magnification |
In-Circuit Testing (ICT) | 90-95% node coverage | 100% node coverage |
Automated Optical Inspection (AOI) | Finds defects up to 0.2mm | Finds defects as small as 0.1mm |
X-ray Inspection | Basic checks | Detailed checks for tiny voids |
Environmental Stress Screening | Normal conditions | Tougher tests with more heat and shaking |
By following these steps and using good inspection methods, your PCBs will last longer and work better.
Being exact is very important in making circuit boards. Using advanced soldering methods helps create strong and clean connections. These connections are needed for electronics to work well. Adding solder paste and flux the right way makes joints even better.
Part | What It Does |
|---|---|
Solder Paste | Mix of flux and solder bits, great for small parts. |
Flux | Helps make strong and clean connections. |
By using these methods and good habits, you can make long-lasting and high-quality circuit boards for today’s needs.
FAQ
What solder is best for PCB assembly?
Lead-free solder is safer for the environment. Use thin wires for tiny parts and thicker ones for bigger areas. Pick the right solder for your project to get the best results.
How do you stop solder bridges?
A solder mask keeps pads apart. Add solder paste carefully and don’t use too much. Keep tools clean and set the heat correctly for accurate soldering.
Why is flux needed in soldering?
Flux cleans metal and helps solder stick better. Rosin flux is good for electronics, while water-based flux is easier to clean. Always choose the right flux for your solder and project.
How can you avoid heat damage when soldering?
Use soldering tools with temperature control. Heat only the needed spots and don’t overheat. Check parts after soldering to make sure they’re not damaged.
What tools check solder joints?
Magnifiers, AOI systems, and X-rays find surface and hidden problems. ICT tests electrical connections, and ESS checks strength under tough conditions.
See Also
Achieving Superior Quality Through PCBA Manufacturing Mastery
Choosing the Optimal PCB Assembly Method: SMT vs. Through-Hole
Guidelines for PCBA Assembly and Error Prevention